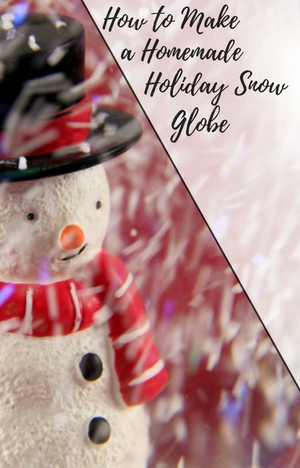
 The holidays are coming up soon, and it is that time of the year to start putting up the Christmas decorations.
 A fun activity around our house is being creative and making our own decorations, instead of purchasing the store bought ones.
One of the essential holiday decorations to have is a snow globe to place in your home.
This tutorial video will easily show you how to make a homemade holiday snow globe that your kids will love to play with. Do this craft activity with your family, and use such snow globes to add to your collection of DIY Christmas decorations.
Supplies Needed
Plastic Water GlobeGlycerine
Distilled Water
5mm Pom-Poms (White)
Glitter (any color)
Hot Glue Gun or E6000 (or an extra strength glue that dries water-proof)
Ornament or decoration of your choice
Patterned paper or ribbon to decorate lid
Step by Step Instructions
1) Unscrew lid, and remove interior seal of the plastic water globe.2) On the flat top of the interior seal, use a hot glue gun or E6000 to apply glue, and place your ornament or decoration on top (allow to dry).
3) In the plastic water globe, add glitter, fill with distilled water, then add a dollop of Glycerine (which makes the snow and glitter fall/float around slower).
4) Top off with more distilled water if there is any extra room.
5) Insert interior seal with ornament or decoration attached.
6) Screw lid back on and tighten.
7) Cut a strip from patterned paper or ribbon to wrap around the lid for decoration.
By following the easy steps in this tutorial, your homemade holiday snow globe will be ready to show off. I have made a few of different variations of these, and the kids simply love them. Start making these beautiful snow globes for the holiday season, and give a unique look to your home!
